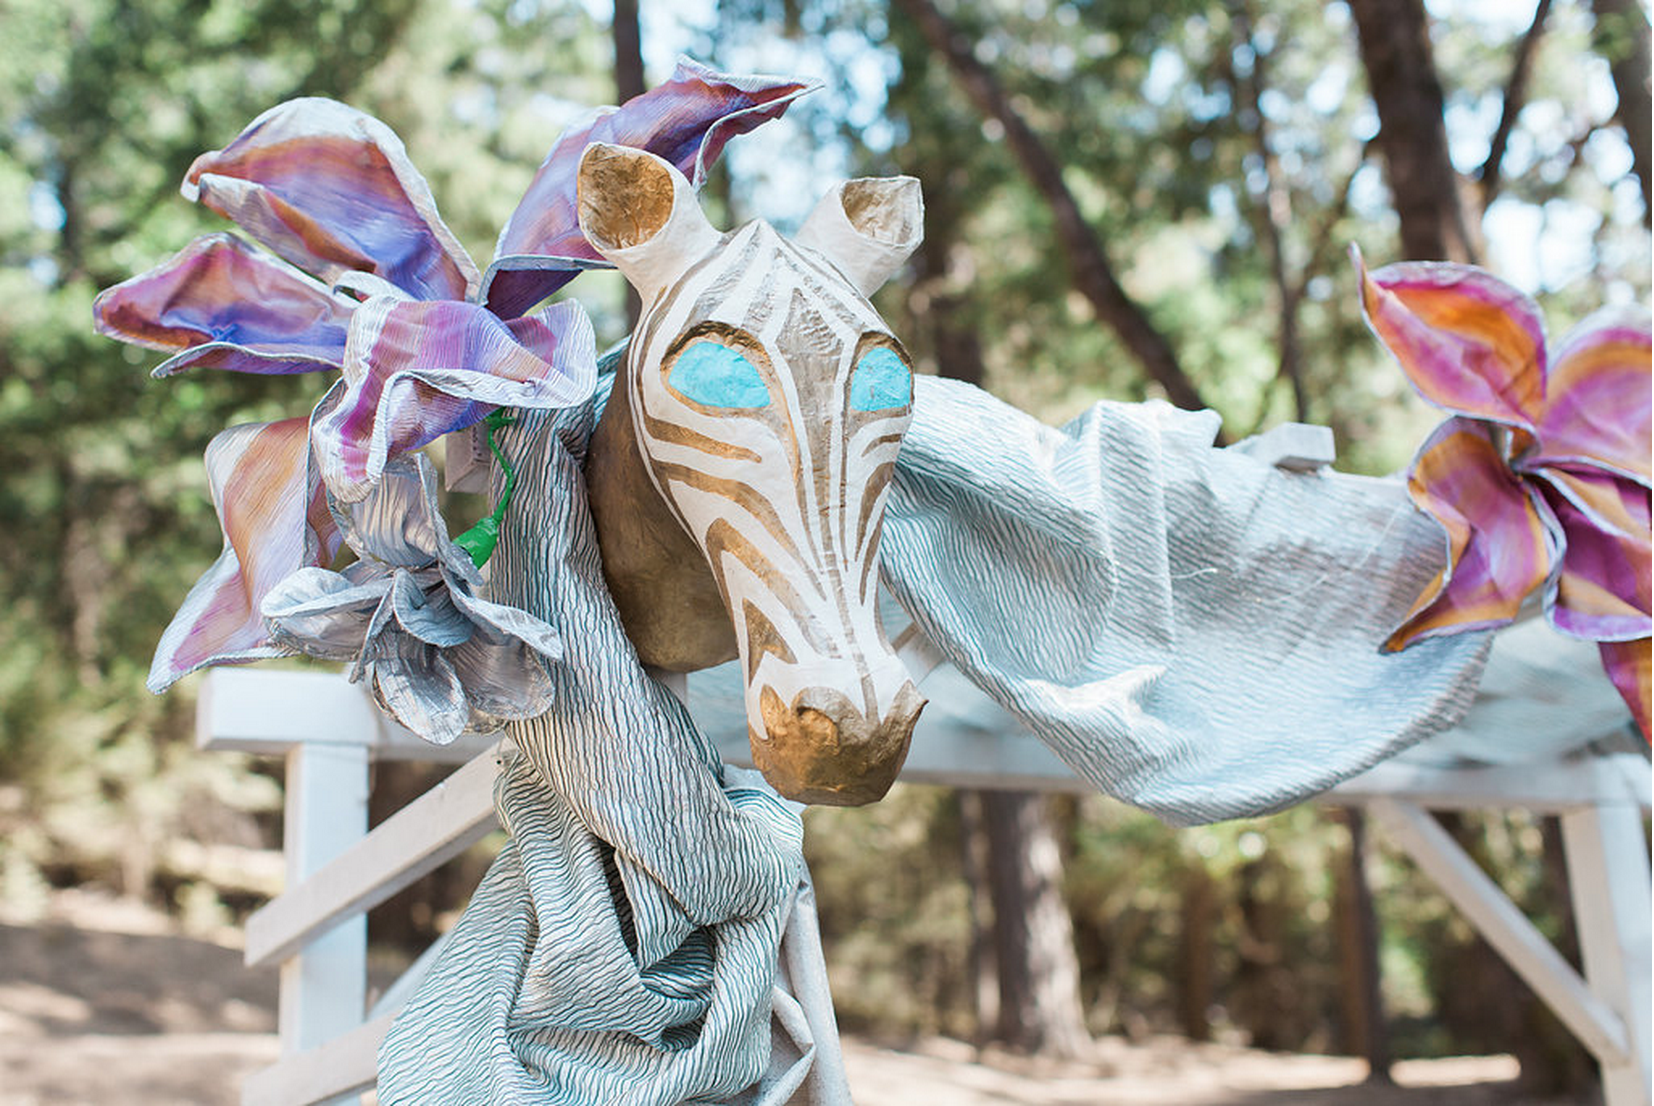
Paper Machê animals are an excellent DIY project! They make terrific, whimsical decor, and are also very soothing and friendly to have around the house. I like to make paper machê animals whenever I’m feeling down; something about them is quite comforting. They are somewhat time consuming (drying, painting, etc.) but ultimately, SO worth the effort. (photo credit for the top image: Jennifer Lourie Wedding Photography)

Materials Needed: (Counter clockwise from top left)
- Chicken Wire
- Wire Cutters
- Pliers
- Newspaper
- An item to help shape the best (I used a kettlebell)
- Paper Machê Mix (I used flour and water, mixed to the consistency of pancake batter)
- Paint (not pictured, I used gold spray paint, and ivory and teal acrylic paint)


Cut off a large piece to begin. I used about a three foot rectangle for this project. Begin to shape it with your hands to your desired animal’s face shape.


Once you have it somewhat in it’s final shape, press the chicken wire over a hard object so you can really put some muscle into it to mold the wire into place. After I had the general outline completed, I cut a small square to bend over the nose of the zebra.


Now that the head of the animal is finished, cut off another piece for it’s neck. This piece can be smaller, just use your best judgment.


I hung my zebra up so I could finish moulding the bust to the proper proportions. Time to add ears! Cut a small square of chicken wire, fold it in half to make a triangle, then bend it into an ear shape, and attach the small pieces of wire using pliers.


Attach both ears using pliers, and your animal is ready to be paper machêd!


Dip strips of old newspaper into the flour mixture, and layer the strips onto the chicken wire. This will be messy! Be careful not to have too much of the paper machê on the newspaper, or it will tear easily and take forever to dry.


Use your fingers to smooth away excess paper machê, then sit out to dry once your animal is covered.


Once it is completely dry (this will take a day or two), mix another batch of paper machê to add dimension to the shape. Dip a strip of paper in the mix, fold it into a small, thick strip, and place it on the nose to create nostrils. Then, do the same to create a more 3D shape around the eyes and nose. Keep adding layers until the best is smooth and you are happy with it.


Once your animal is 100% dry, it’s time to paint! I wanted a gold zebra with white stripes, so I opted to spray paint first. It is easier to get a thick, gorgeous, even coat of gold using spray paint instead of acrylic.

Photo credit: Jennifer Lourie Photography
To paint the white stripes, it took many, many coats of ivory acrylic to completely cover the gold. Be patient! Your animal friend will be around to bring you comfort and joy for a long time, so give it all the attention it needs. I like to leave the eyes one solid color. It makes the animals seem more mystical I think. 🙂

photo credit : Jennifer Lourie Photography
Once your animal is finished, give it a name and hang it up. Mine usually hang in my house, but I took the zebra (and her unicorn friend) to my wedding to decorate our altar, along with several handmade flowers (tutorial here).

I also brought my zebra and unicorn to Burning Man! They watched over our camp entrance and made sure everyone had a good time. Also, as you can see from the side, I chose to leave the side of my zebra’s neck gold. She could also be a horse wearing a zebra mask.
Overall, this project took me awhile to complete. But I love my animal friends so much! I will be making more soon. 🙂
QUESTION OR COMMENT? LET'S TALK!